|
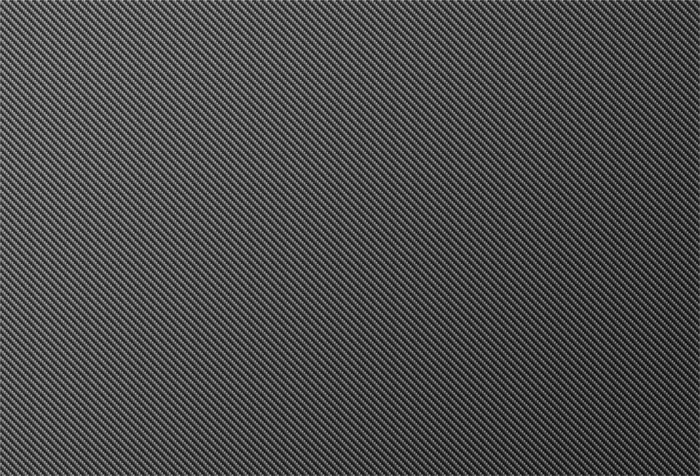
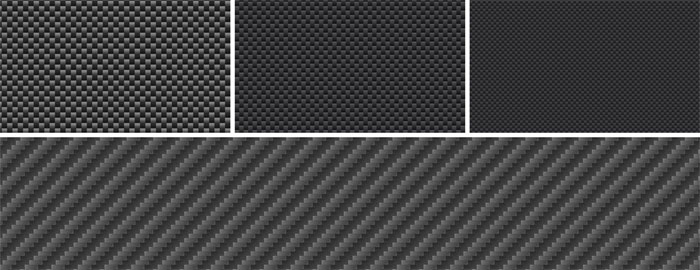
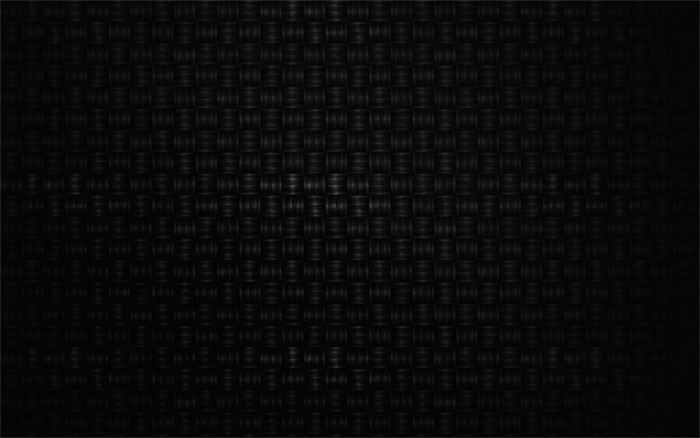
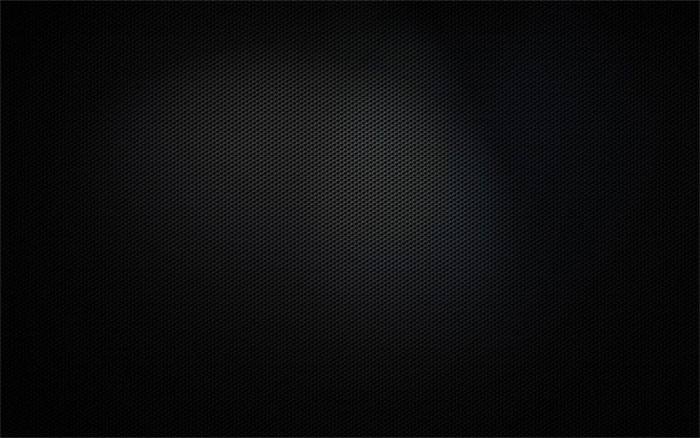
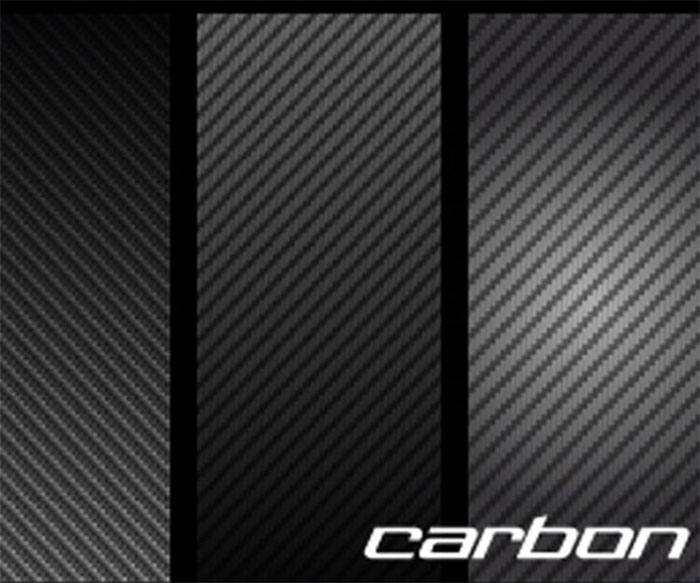
You should bookmark this article for when you need a carbon fiber texture for your design projects. But what is carbon fiber? Just like you may have thought, carbon fiber is, actually, fiber made of carbon. However, these fibers are nothing more than a base. What you’ll commonly see referred to as carbon fiber is actually a material that consists of extremely thin filaments of carbon atoms. When heat-bonded together with a plastic polymer resin, or by pressure, or in a vacuum, you get a very strong, and very lightweight material. Examples of carbon fiber texturesHigh Res Dark Carbon Fiber Texture
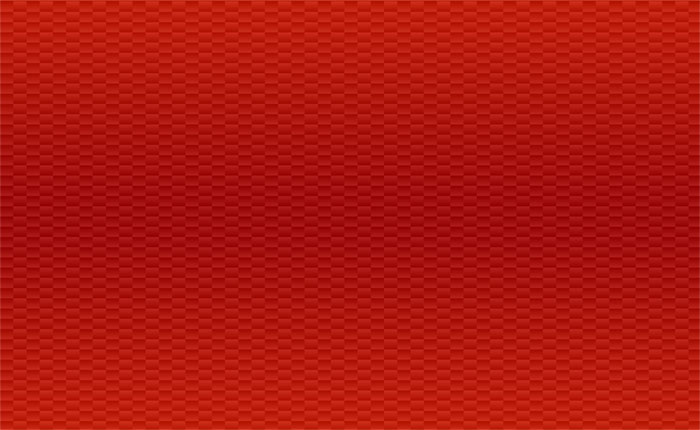
Cold Carbon Texture
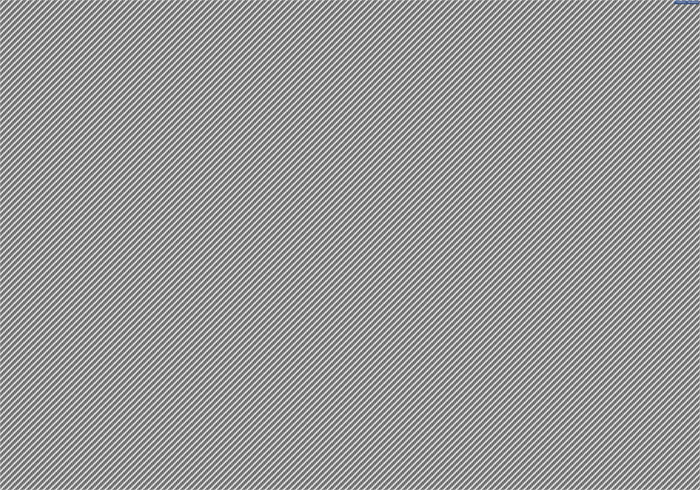
Art Carbon Texture
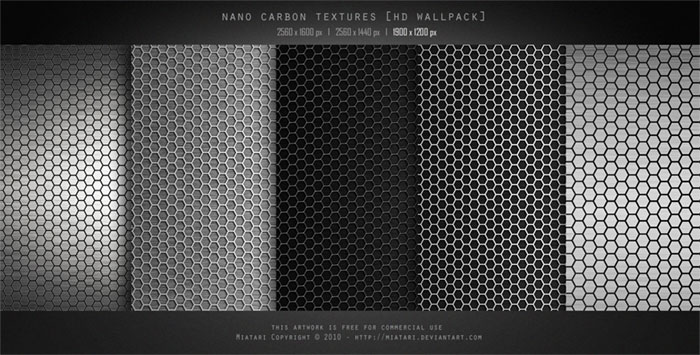
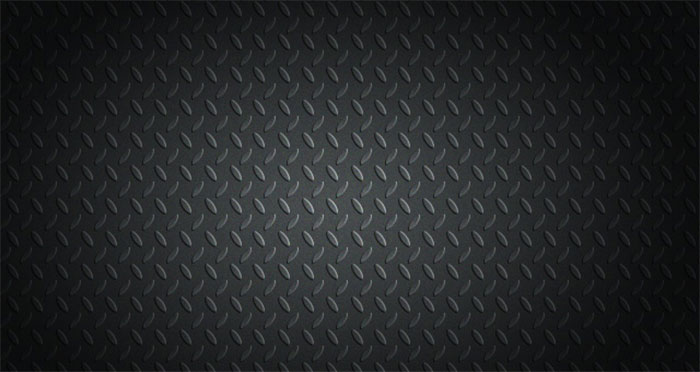
Nano Carbon Texture
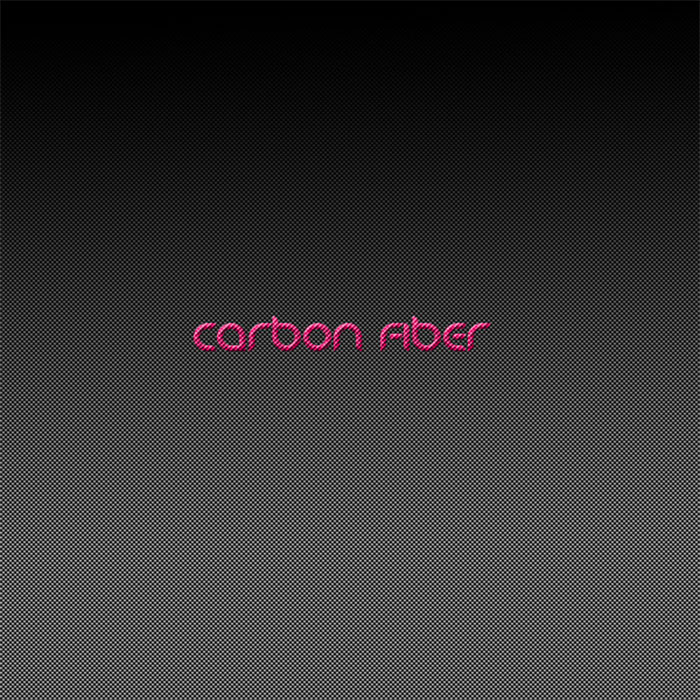
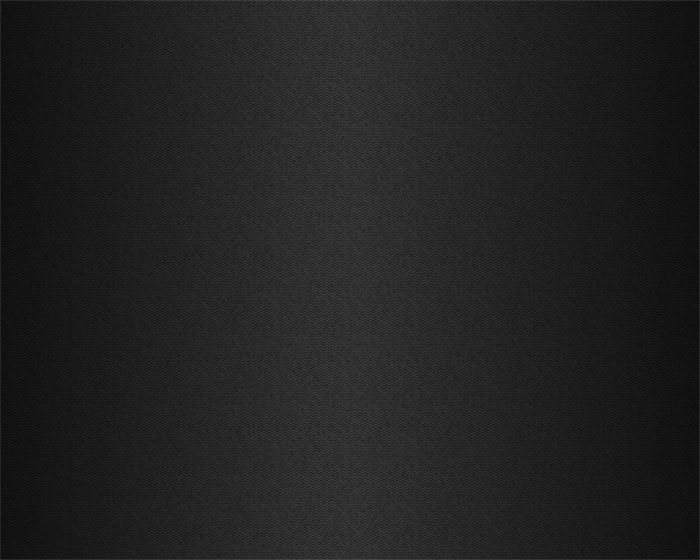
Black Carbon Texture
Abs Carbon Texture
PSD Carbon Texture
Photoshop Carbon Texture
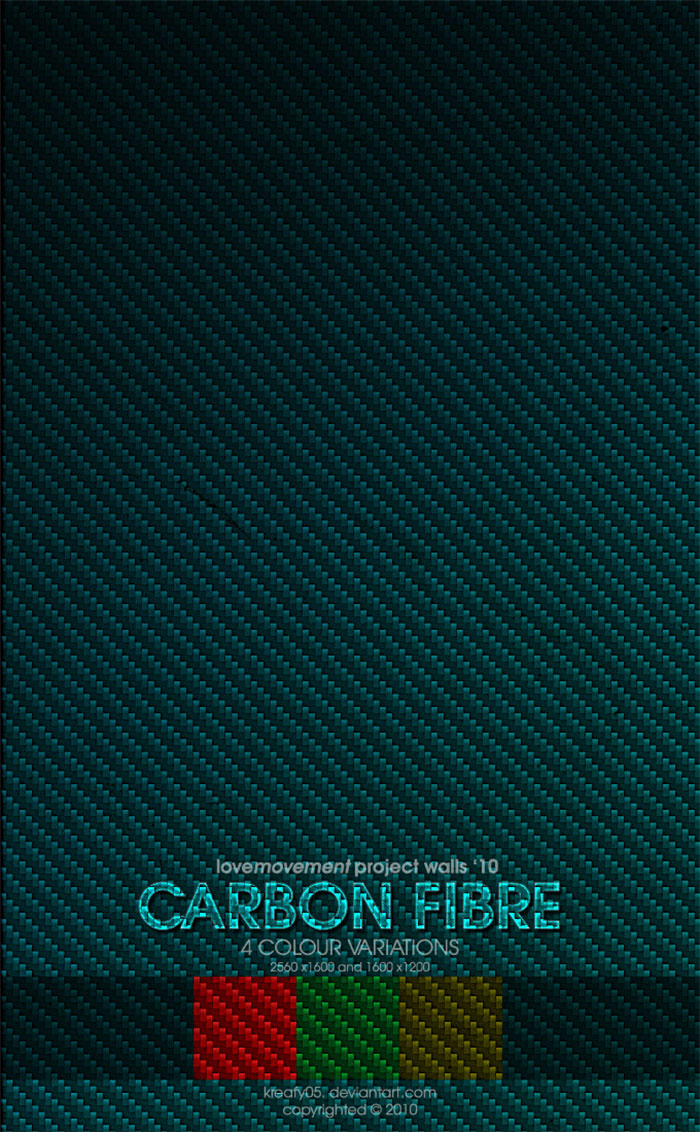
Colorful Carbon Texture
Plain Carbon Texture
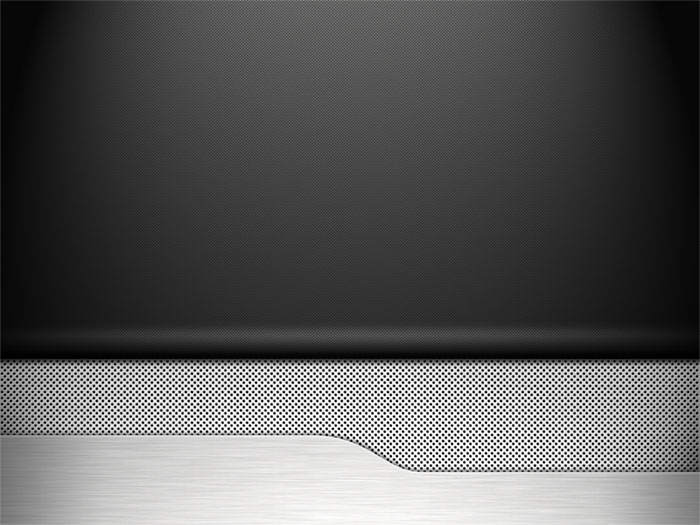
Aluminium Carbon Texture
Desktop Carbon Texture
Colored Carbon Texture
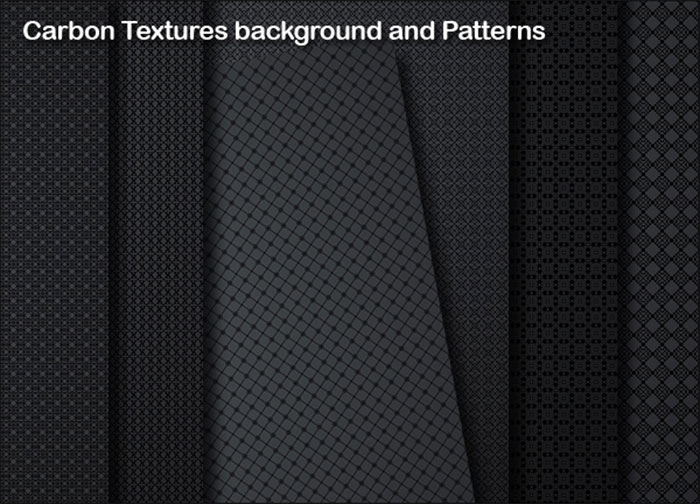
10 Free Vector Carbon Fiber patterns
Grey and Black Carbon Fiber Texture
Carbon Fiber Background
Psd Carbon Fiber Pattern Background
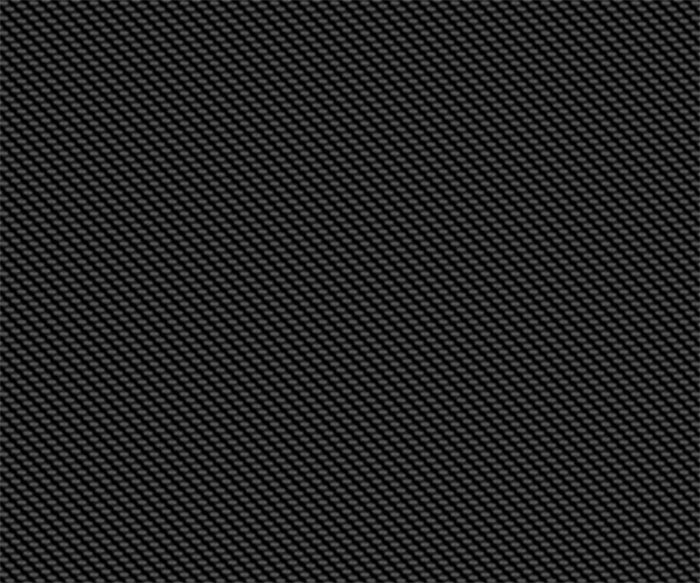
Free Seamless Carbon Fiber Texture
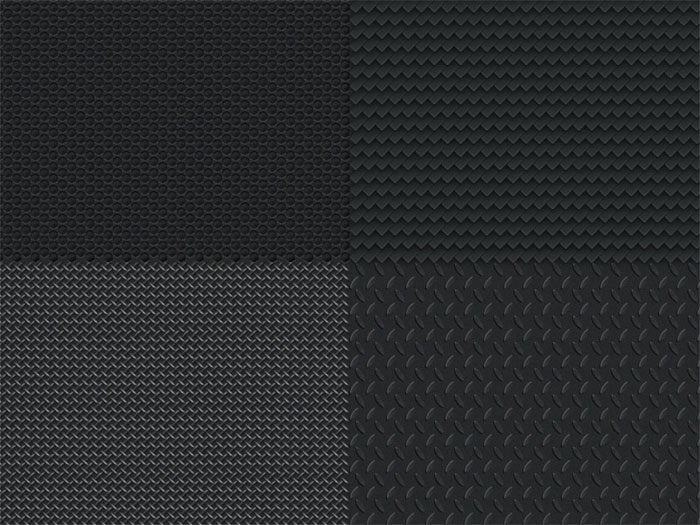
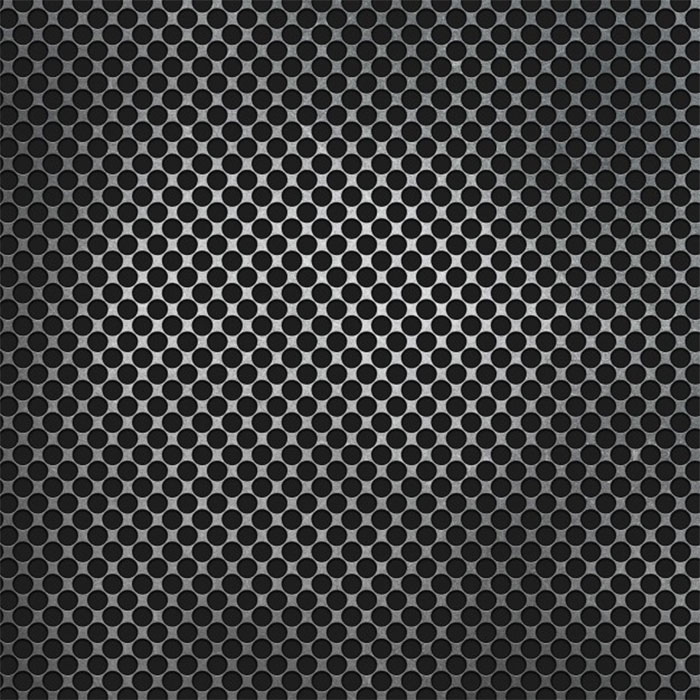
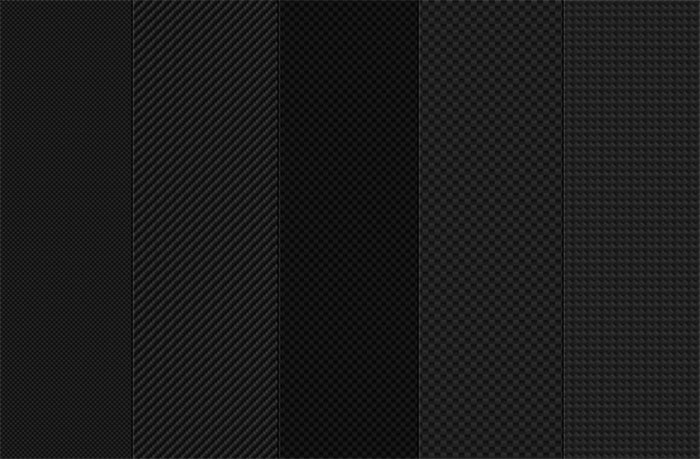
7 Tileable Metal & Carbon Fiber Textures
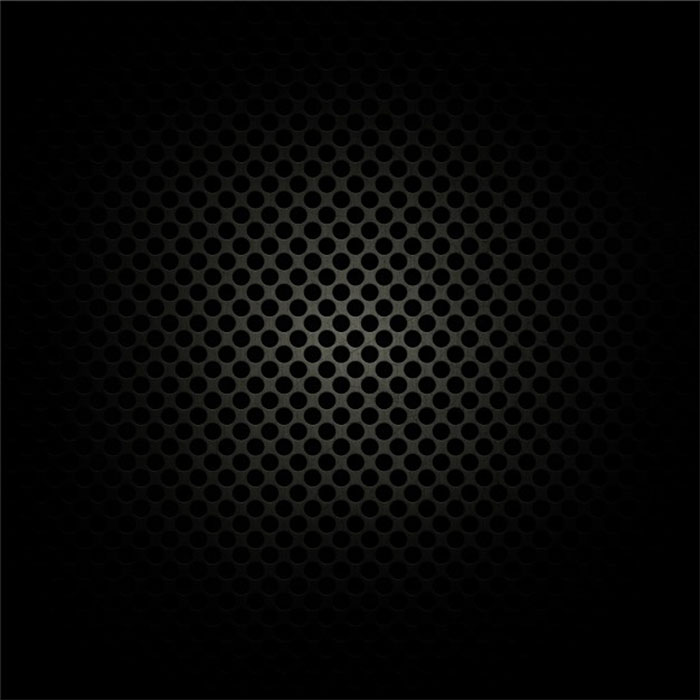
Dark metal mesh background |

AuthorPleasure to introduce myself I am Jamie 27 years old living in Searcy, AR. I am web developer and have developed over 50 sites for clients. Now a days I am focused on designing as I feel I am lacking it. Archives
April 2019
Categories |


 RSS Feed
